I was fortunate to acquire a Garmin GSP 496 recently by trading out my 196 and some boot money. After playing with my new GPS I discovered that the clock was not keeping time each time I turned the unit on. Also, it was taking a long time to lock in on the satellites. So, I Googled for information and found just what I needed to know: the problem is very likely that the internal battery was depleted. I learned that it recharges only when the unit is on, so if you leave the GPS unused for a good while, it could discharge and cease to function. By using the GPS for several hours, if the battery is still in good shape, it should recharge and continue to function properly. But at some point the battery will be spent and need replacing.
I found a website that had photos showing disassembly and replacement of the tiny internal battery. The website gave reference to the replacement battery I would need to buy, so I bought one – well, two – they were cheap. The shipping cost more that the two batteries.
Here is a link to the website that I found very helpful.
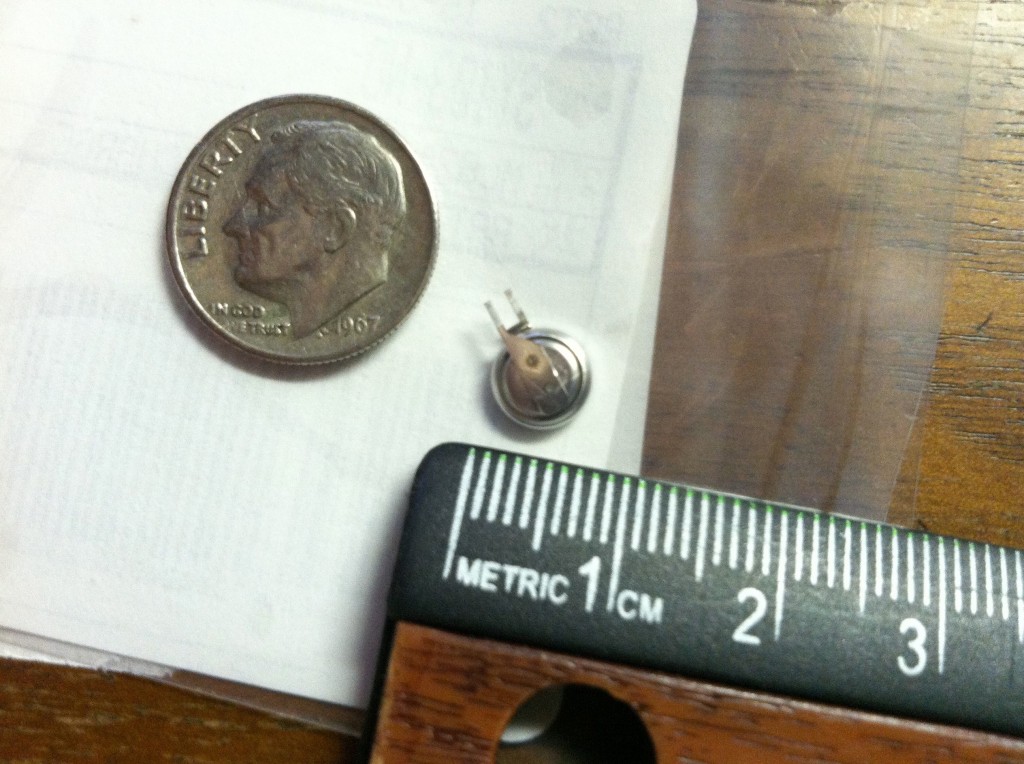
I ordered the battery online from Digi-Key. The item number is: SY103-ND. It is a 3V rechargeable lithium battery about 7mm in diameter with two leads attached to it for installing on a circuit board. The batteries cost $2.68 each.
I removed the eight screws and the antenna mount ring nut, pried the unit open with the edge of my pocket knife very gently.
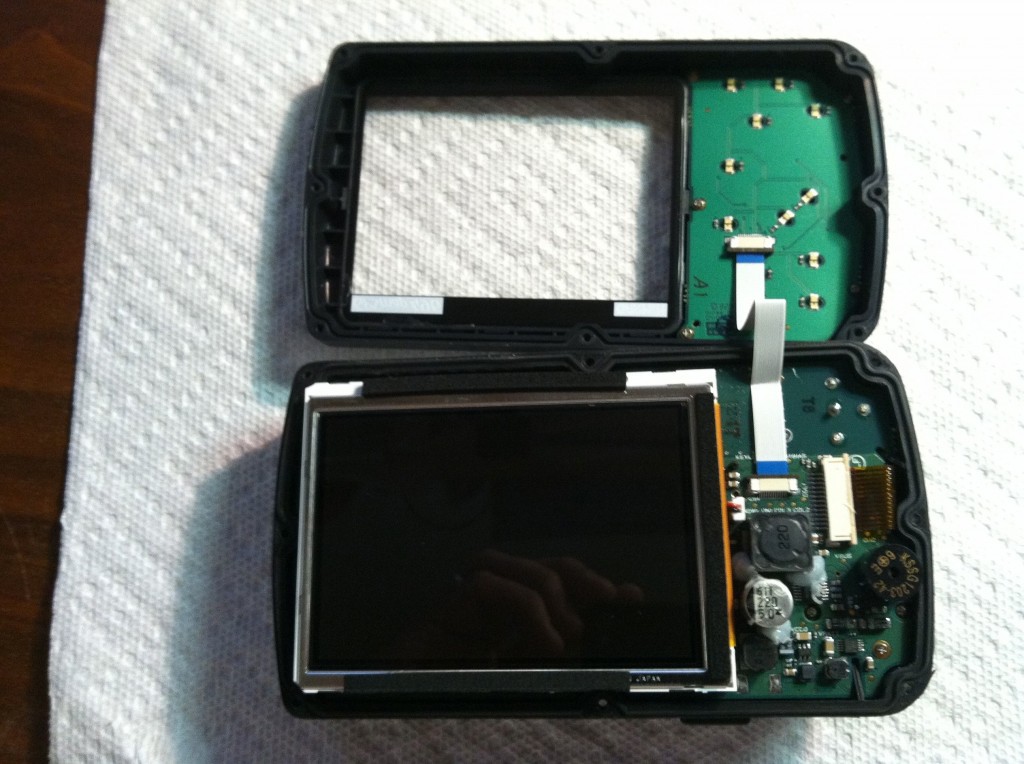
There is a ribbon that is attached to both halves. I removed the ribbon from the main board by pushing the small dark plastic clip where the ribbon enters the mount towards the ribbon and then lifted the clip up and slid the ribbon free.
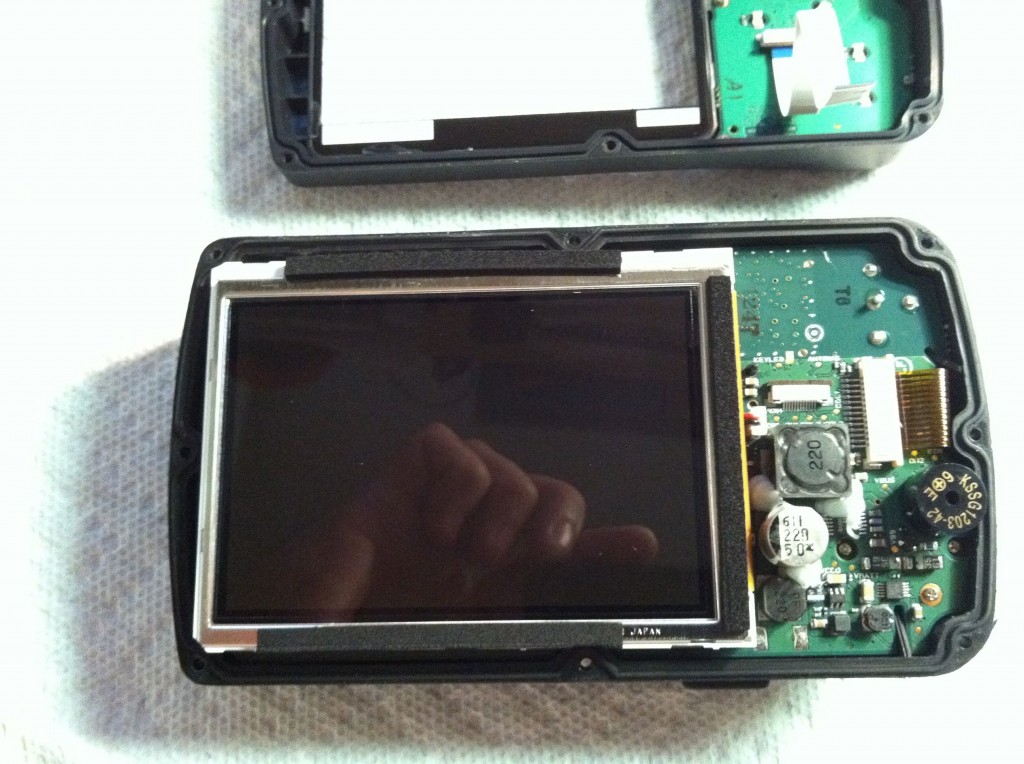
Next, I gently unplugged the screen’s red and black power wire connector with some needle nose pliers and lifted the screen from the board. There is a ribbon underneath connecting the screen and the board. This one I left attached and gently set the screen to the side to reveal a foil covered area. I gently pried the foil away from the circuit board with a very small screwdriver, the kind used for eye glasses. After a couple of minutes of gently lifting the foil away from the sides all the way around, I lifted the foil off. There is some adhesive on the foil, so I was very gently with it.
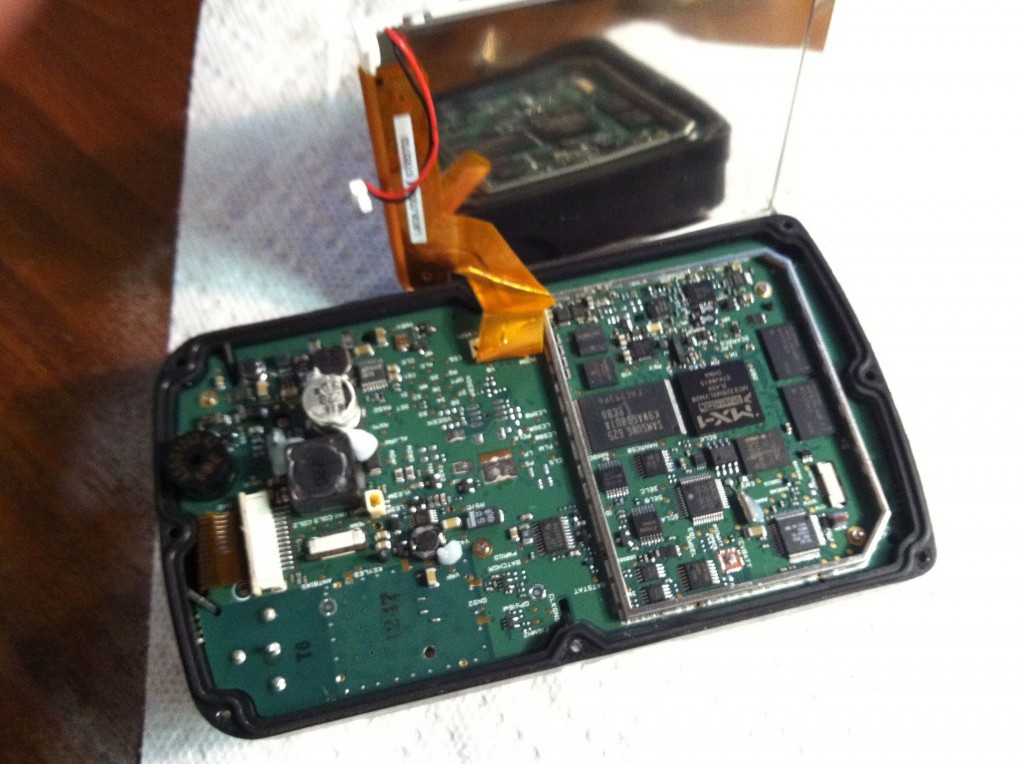
Removing the foil revealed what looks like the brain area of the GPS. There are four small screws to remove from the board, two of which are in the area under the foil in the corners. The other two are outside of the foil area, one near the center of the board and one in a third corner. Before removing the circuit board, there is a ribbon on the end that needs to be removed from its slot. The ribbon mount is a larger version of the earlier one. Slide the clip towards the ribbon and lift to an angle and slide the ribbon free.
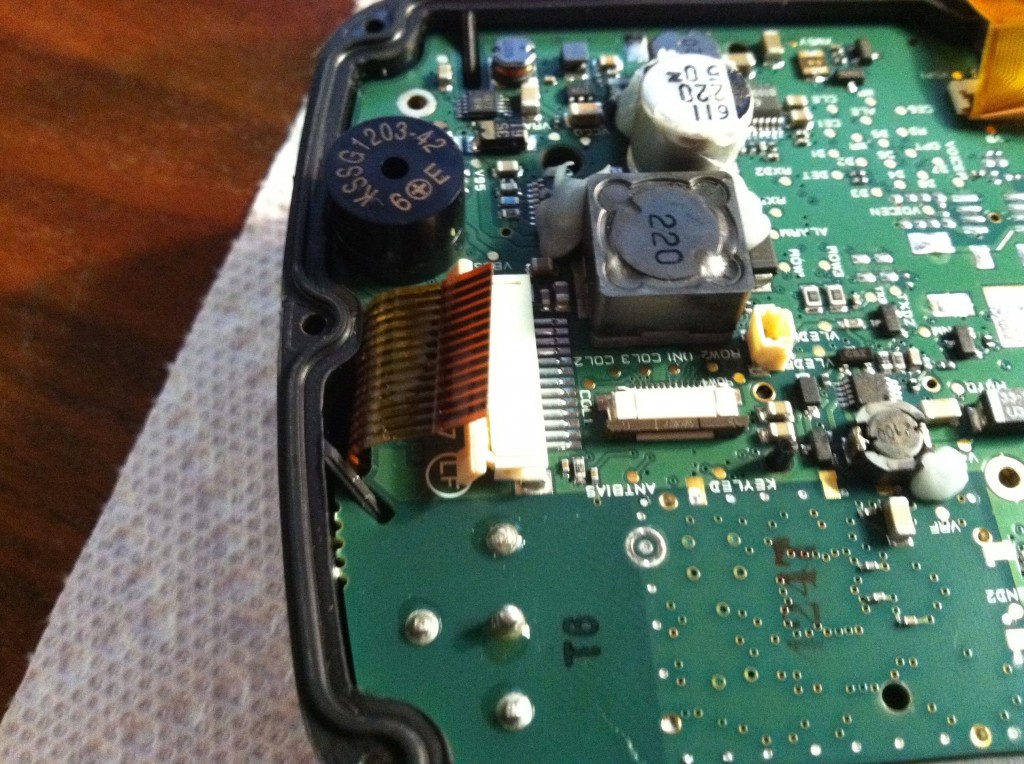
The circuit board can now be lifted out of the case by prying along the edges gently with a small screw driver. I gently lifted the circuit board out of the case to find yet another ribbon attaching the circuit board to the case. I left this one attached, but turned the circuit board over to reveal the tiny internal battery attached to the board along the edge opposite that to which the ribbon is attached.
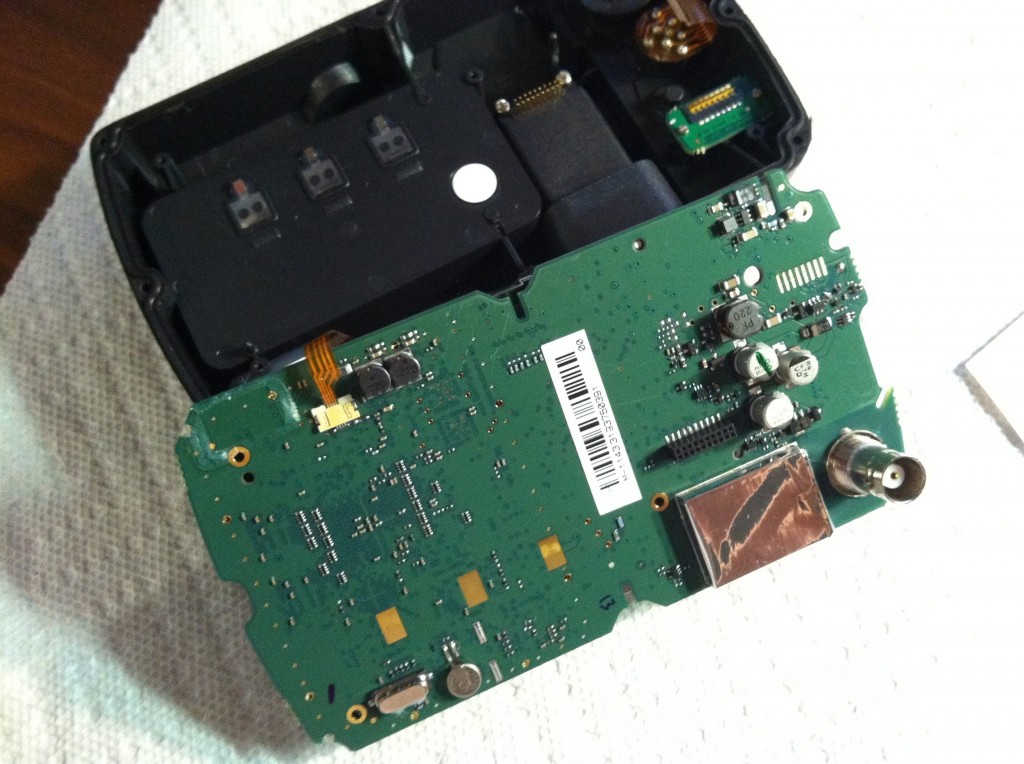
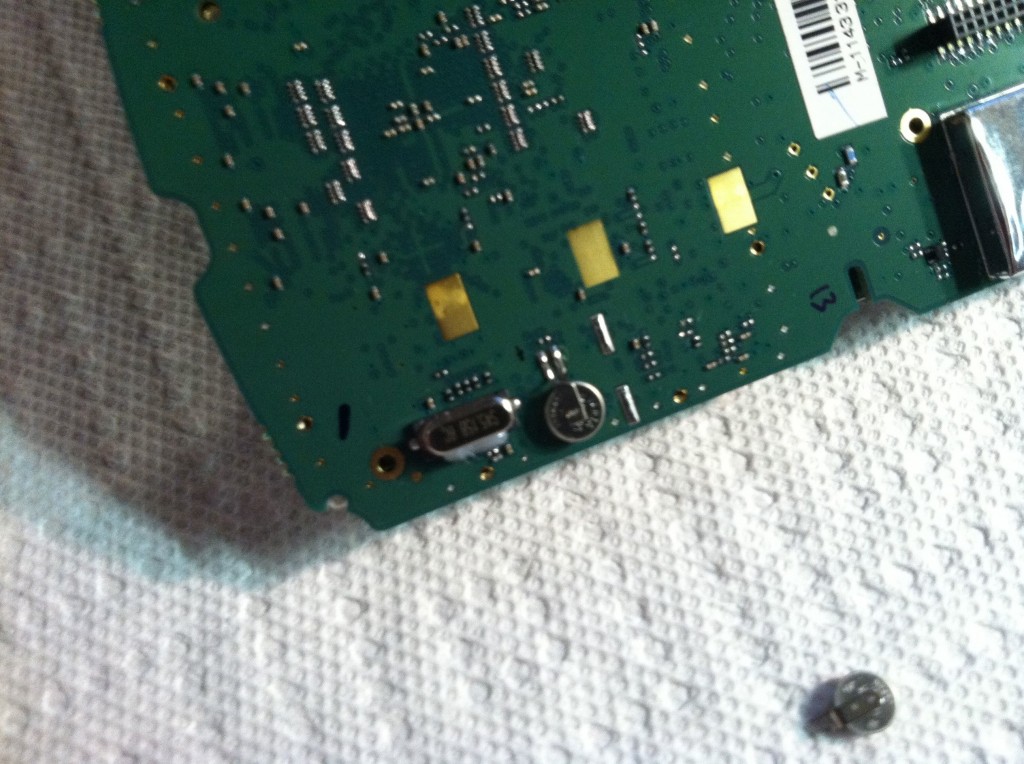
I used a soldering iron with a fine point to remove the battery. I held the battery with some needle nose pliers in one hand and touched the soldered leads one at a time, back and forth as required to get the battery loose. I was careful not to bridge the two leads with solder as I heated them.
I placed the new battery in position on the board and pressed down on it firmly to hold it against the circuit board as I touched the soldering iron onto first one lead and then the other. I put a tiny amount of solder on the iron for each joint. I check to make sure it was soldered securely and that’s it!
I reassembled everything in reverse order, gently all the way, and the task was done.
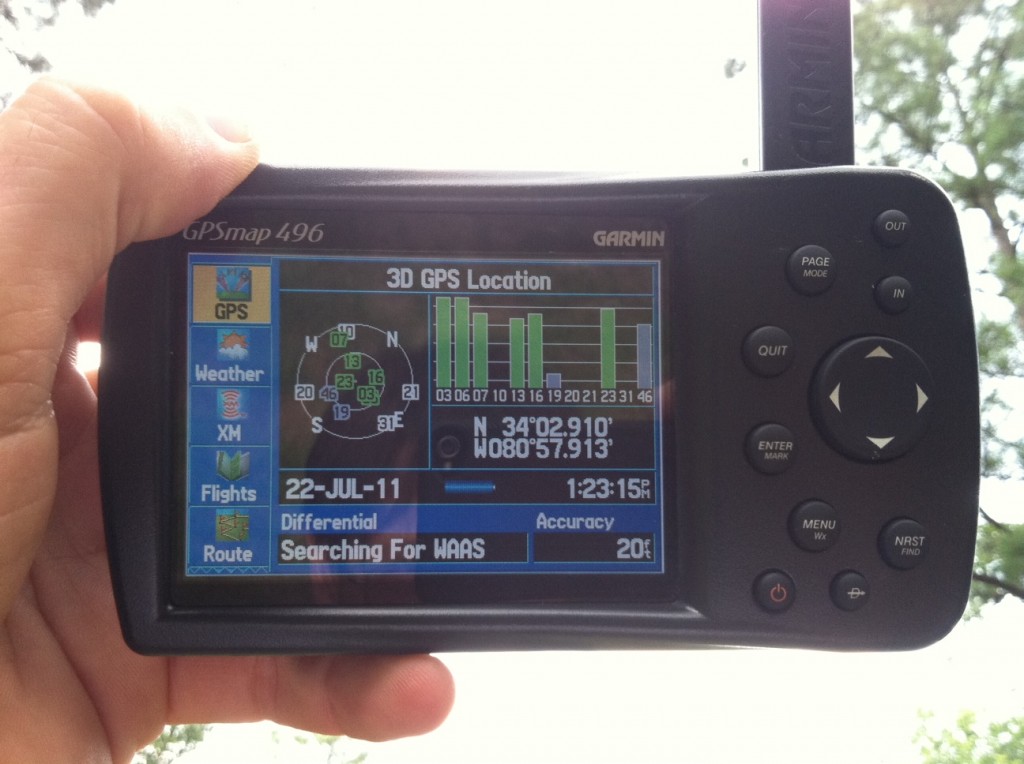
I took the GPS outside and started it up. Whew! It started up! I had to wait several minutes for it to find the satellites and it finally when into 3D with several satellites found. The time then reset to the correct time. I turned the GPS off and back on several times over the following hour and each time, the time was correct and it had its satellites found.
This procedure seems to have worked out well. I will report back if that changes, but for now, I think I will go fly!

This is a very good description of how to open the 496. The only item I found omitted was the removal of the nut on the BNC antenna connection. My board was a little tighter to remove but over all, very good instructions. I did not need to replace the battery, but found it necessary to replace the audio jack which is very flimsy. The sleeve actually broke off of the plastic jack. The jack is attached to the 496 with the standard nut, but also has RTV around the jack for additional support. If replacing the jack you will find it necessary to dig the RTV from around the jack with a small screwdriver. An exact replacement jack can be found at Radio Shack under part number 274-0246. Believe it or not this jack is exactly the same as the original supplied by Garmin right down to the factory stampings.
what I’d love to find out from anyone is how in the world were you able to access and remove this nut that holds the antenna to the unit ! Do we have to crack the antenna itself open to access this nut ? I tried that without success. This antenna is probably glued together and I have no idea how to access this nut ! Do you just pull out the antenna straight up ? Please give me some tips and send it directly to my email. I must replace the internal battery. I am hopelessly stuck with the antenna and without taking this nut out I can’t access the board inside. Please help ! nh528@aol.com